


The Answer is Blanching
Blanche is a bad bitch and so are you.

Cooking greens are mostly associated with the succulent leaves of brassicas which as a plant originated way back in ye olde prehistoric times. And our broccoli, brussels, kale, mustard, cauliflower, cabbage, turnips and maybe burping in general, descends from one giant black mustard plant in the sky. All hail black mustard!
This hereditary black mustard mother, Brassica nigra, is the same plant causing havoc in California’s wild spaces. Black Mustard has become an unwelcome interloper to our native plants. Mustard tends to germinate early, long before native plants have dragged their lazy asses out of bed (“I, like, flaked ok?” a late Mission manzanita quipped to me late one January at Theodore Payne over an oat flat white.)
In addition, black mustard is allelopathic which means it inhibits the germination of other plants’ seeds so that also prevents native plants from reproducing. It can even grow faster than its native counterparts.
The proclivity of black mustard may increase the frequency of wildfires. It gets fairly tall - up to 6 feet - reproduces like mad, and then in August dries up. Although it’s not terribly flammable it has been found to be a perfect fodder for fire by creating “ladders” fire can climb up to consume crispy tree branches. The humanity!
Although, truth be told, these qualities: invasive, doesn’t play well with others, exacerbates wildfires and causes ecosystem failures, this all sounds a lot like humans. So maybe this is the pot calling the kettle black mustard, but we are this world’s very incompetent stewards and we mean well, so yes...
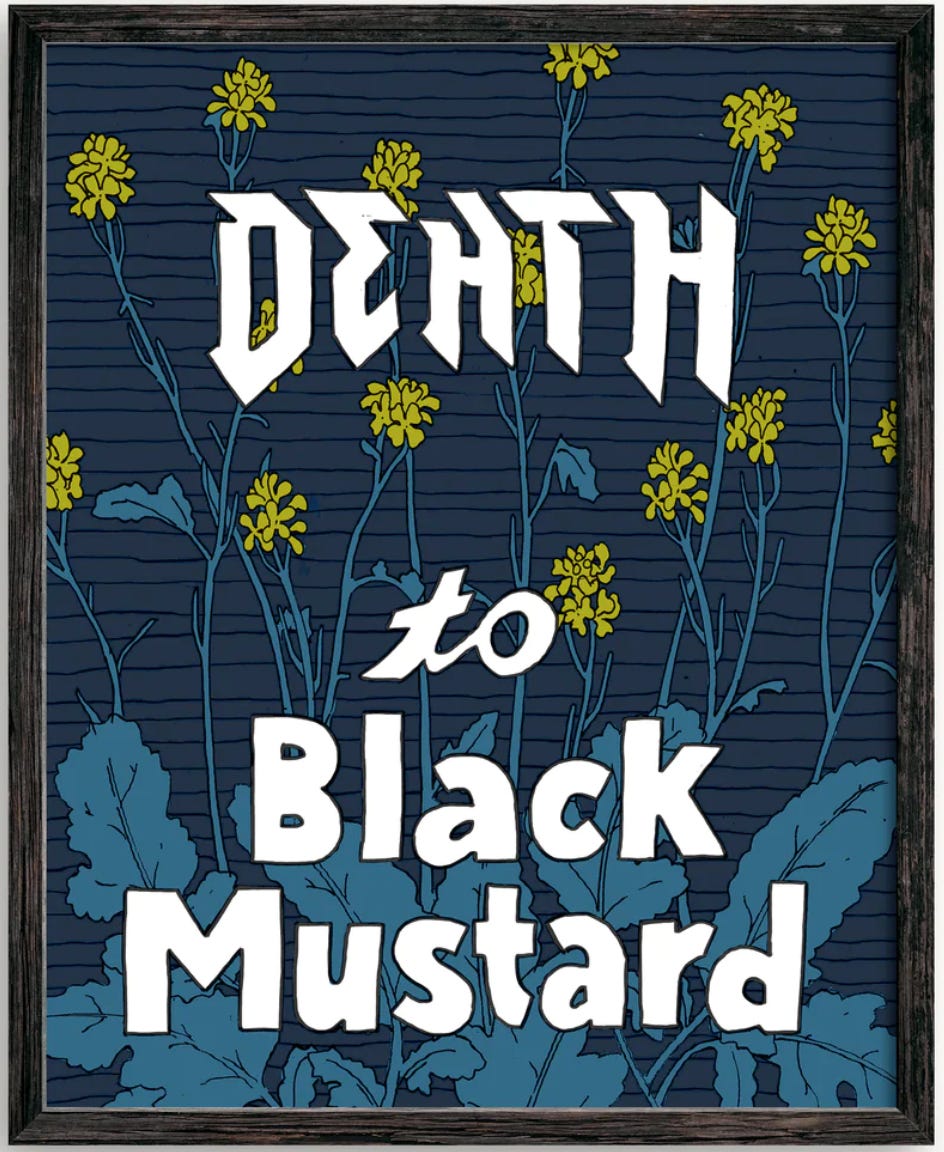
Beyond this spicy nemesis, there are many varieties of mustard green we love to cook with (and it also makes a great green manure so all’s forgiven).
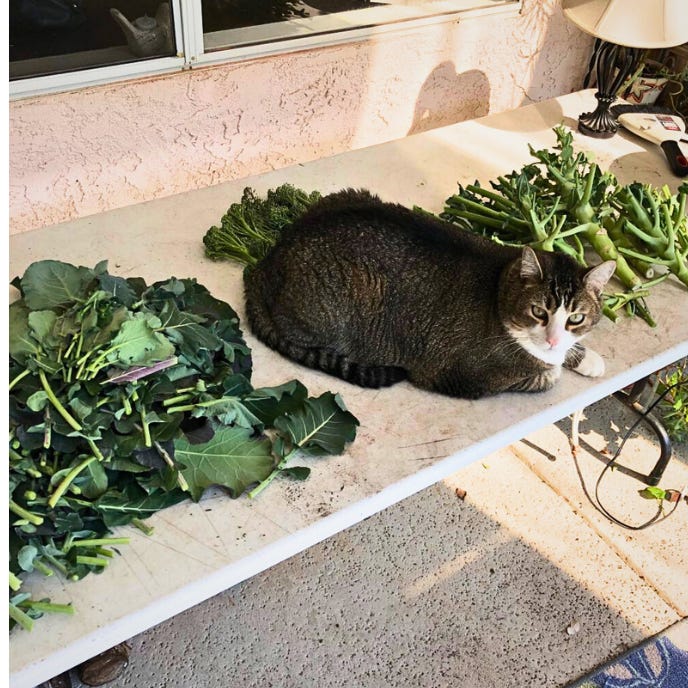
In addition to mustard greens, we grow and eat broccoli greens, collards, kales, chard, spinach, turnip greens, radish greens, beet greens…there’s no end to them it seems. You’re probably growing some right now. And there will be a day, probably in March or April, when you may need some spring space in your garden and next thing you know you have a condition called A LOT OF GREENS.
And you are going to have to process them.
Because having a garden doesn’t end at the garden. Oh no. You have to clean and prepare your harvest too. It’s a racket I tell you. But if you’re a glutton for punishment avid and committed urban homesteader, you very much want to utilize your harvest so read on!
In reality, harvesting time isn’t always meal cooking time. So what to do with all this “bounty?” Now, I know you didn’t plant that beautiful broccoli for nothing, so I have an answer.
For most of your greens recipes, you are going to be cooking your greens. One way to prep your greens is to cook them a little and freeze them. And that process begins with BLANCHING. In an afternoon, you can harvest, clean, blanch and freeze your broccoli leaves (or other greens) and then you can use your harvest whenever you like…and it’s already par-cooked. Here is how to do it – step by easy step. And I cut out a very traditional step too – going rogue here people.
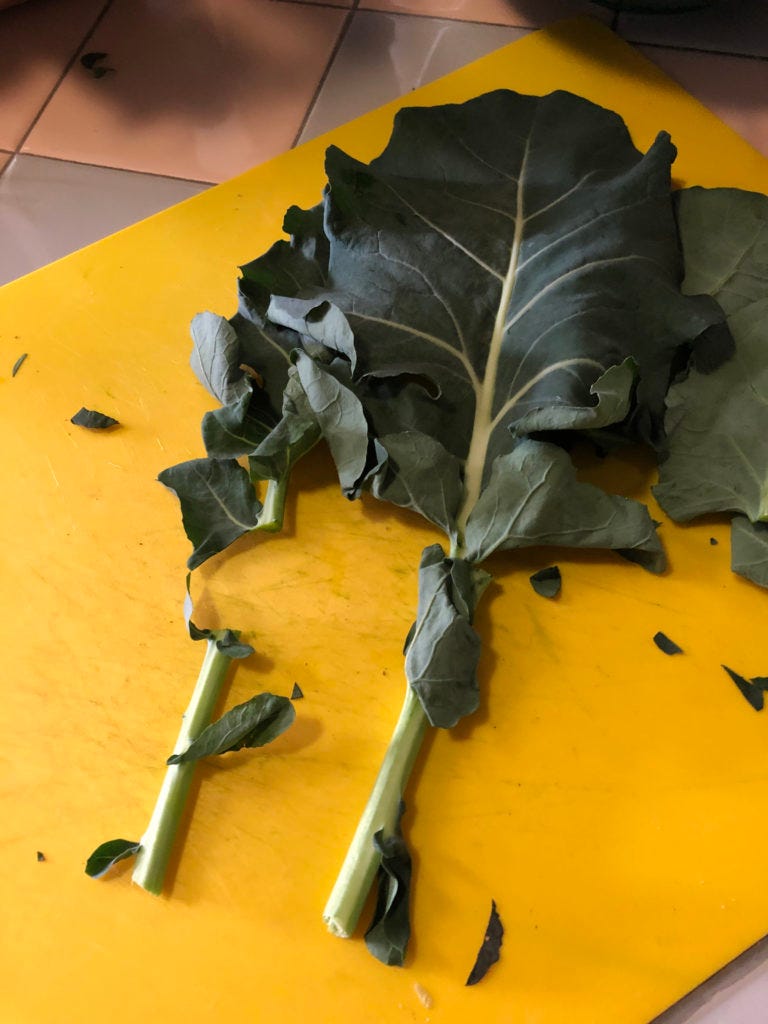
Pull up your broccoli plant(s) and separate the leaves from the mainstalk. If the stalk is tender, throw it in your juicer. If it is not tender, throw it in your composter.
Here I’ve stripped my broccolis of their leaves.
Bring those pretty leaves inside and separate the leaves from their stems.
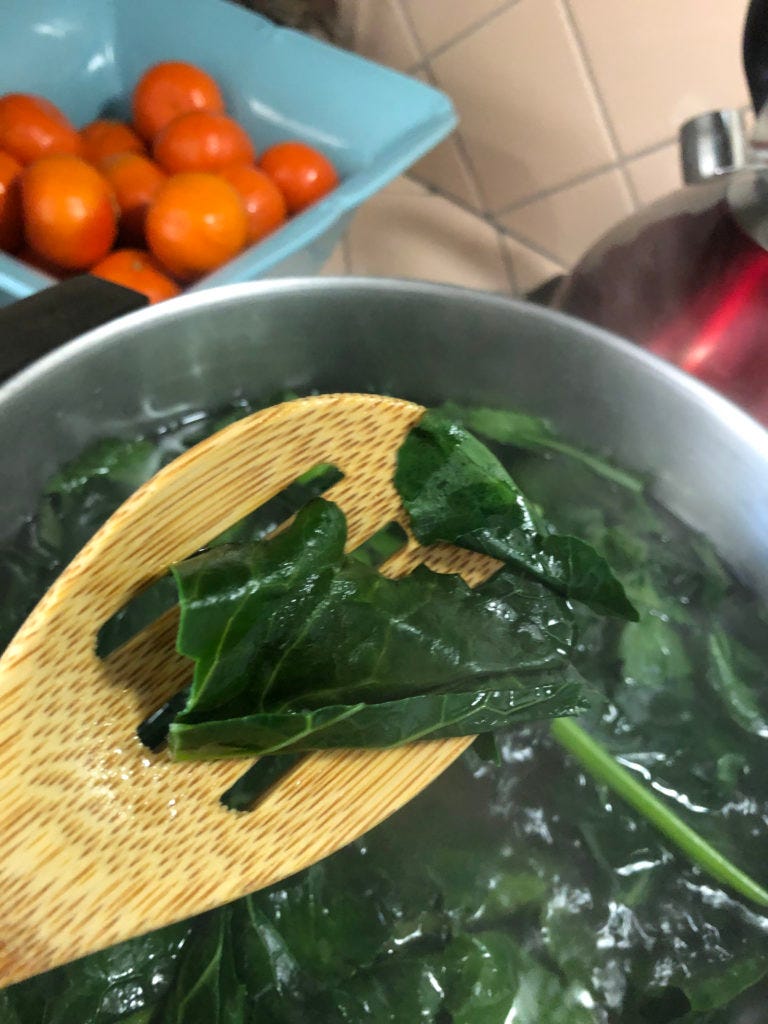
Next, give the leaves a good rinsing, knocking off any aphids, eggs or cabbage worms. No need to spin or dry the leaves off. Roughly chop the leaves into small/medium pieces. I’m in a hurry (always) so mine were VERY roughly chopped. (When you defrost your broccoli leaves, you can always give them another chop before using them.) Bring a large pot of heavily salted water to a boil and lower the heat. Add your leaves in batches to the hot water. With the first addition of leaves, start a timer.
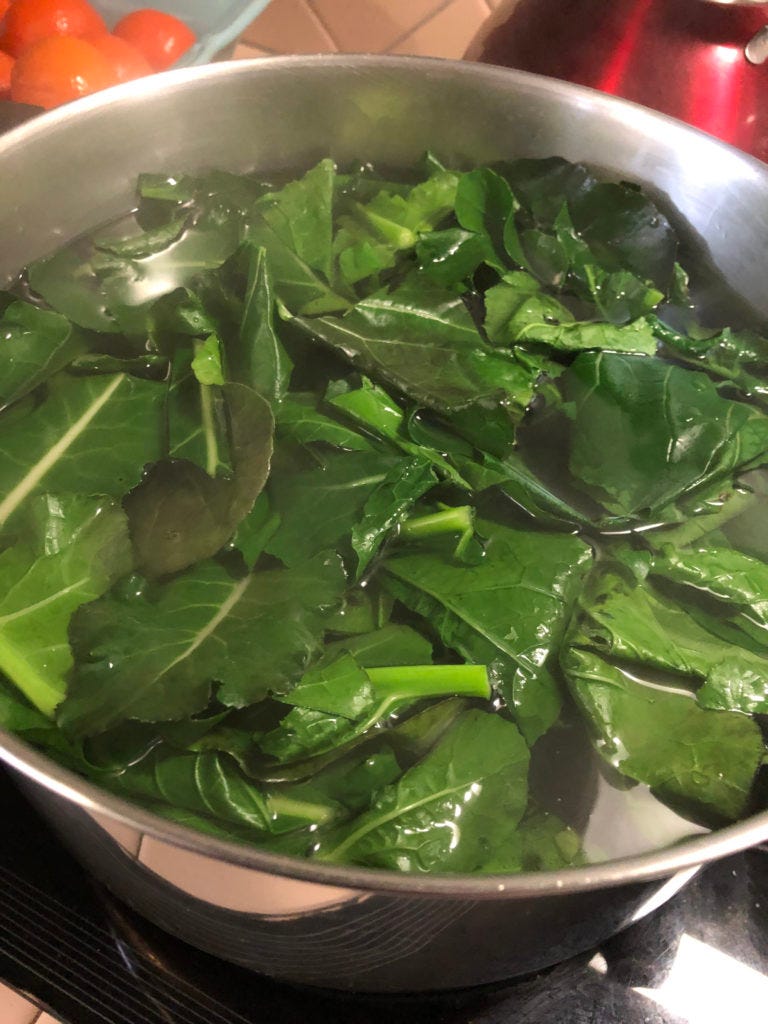
Move the leaves around a bit in the simmering water with your eye on your timer, and after two minutes, use a spoon to lift a leaf out of the water to taste if it is tender. The water should also taste salty. If not, add more salt. We are doing a little seasoning at the same time cause we are badass. So salty!
If the greens taste too chewy, leave them another minute.
If you are happy with the tenderness, stop the timer. Now you know how long to cook your greens. Use a wire mesh strainer or “spider” to pull the cooked greens out of the pot. We want to keep the water going.
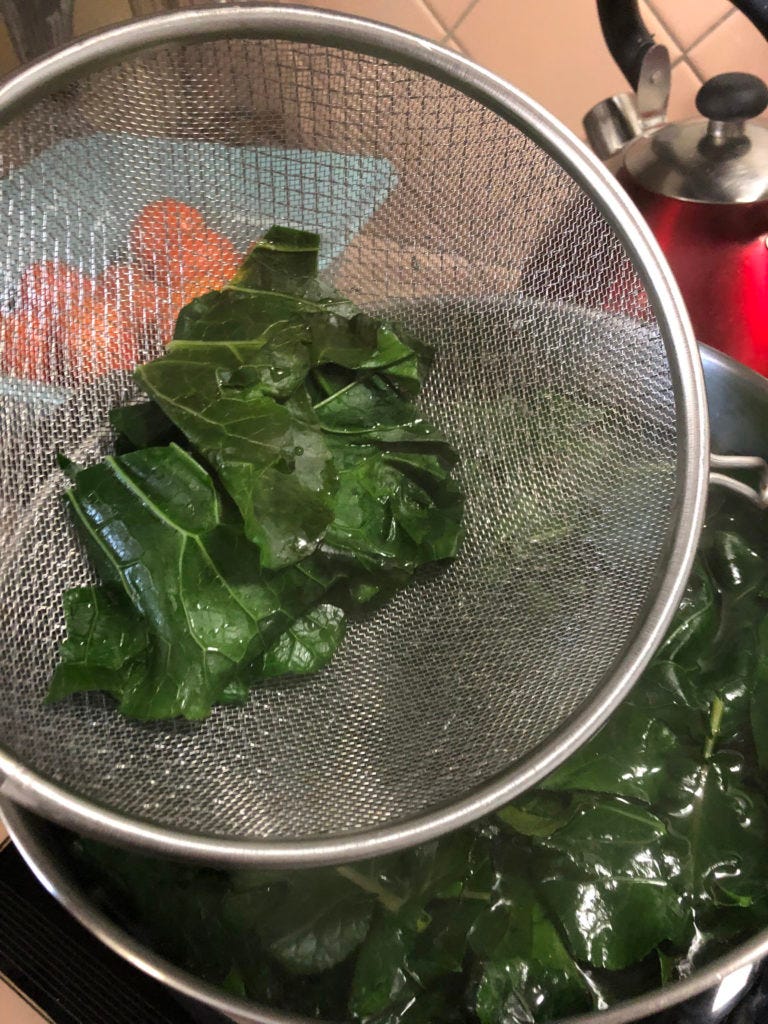
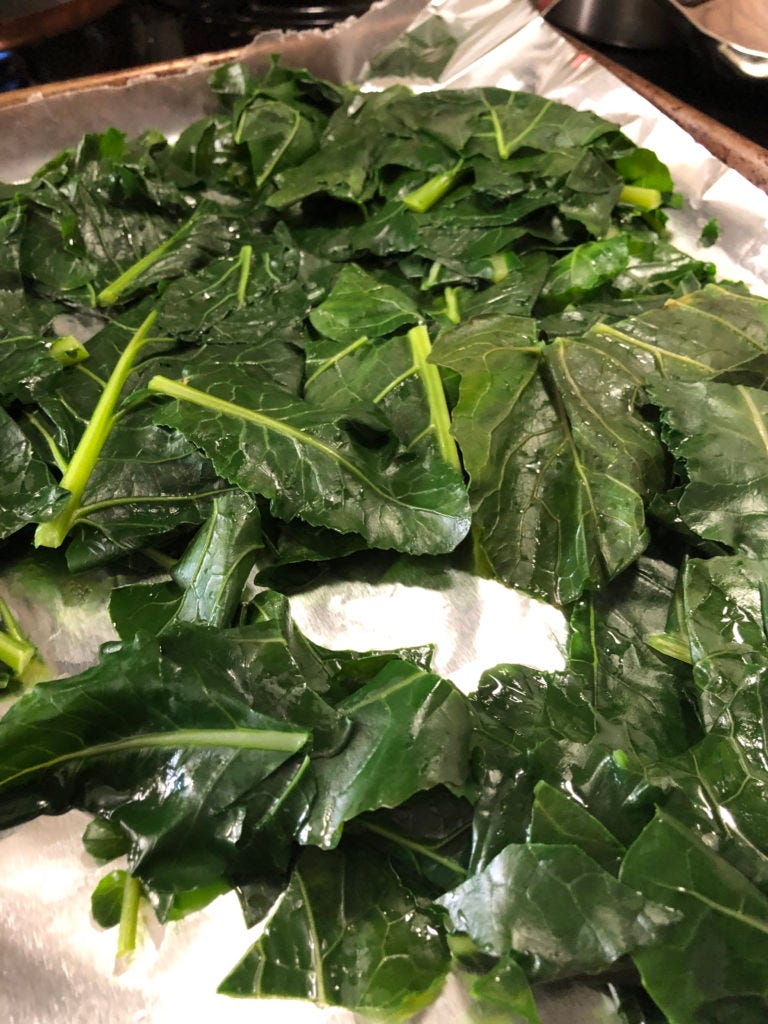
Now here’s the shocker. There’s no need to ice the greens down. You can take the greens directly from the hot water, to the strainer, to a sheet pan covered in foil. So your greens don’t get too mushy, pull them with a little bit of bite still, and then it’s okay if they cook a little after you pull them out.
Keep the greens in a shallow layer on the pan so they cool down, not heat each other up.
From here you are going to squeeze handfuls of your blanched greens to make pre-portioned servings before you freeze it. Let the greens cool a bit and then squeeze the liquid from your greens out into a bowl - cause I’m going to pour it in my composter.
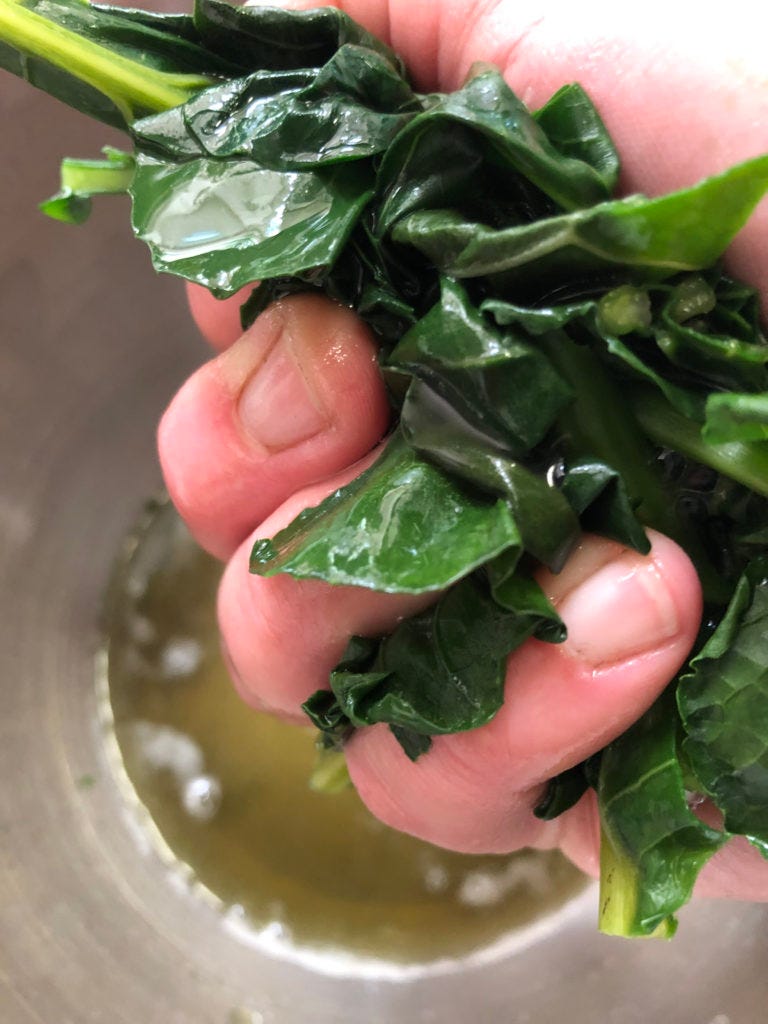
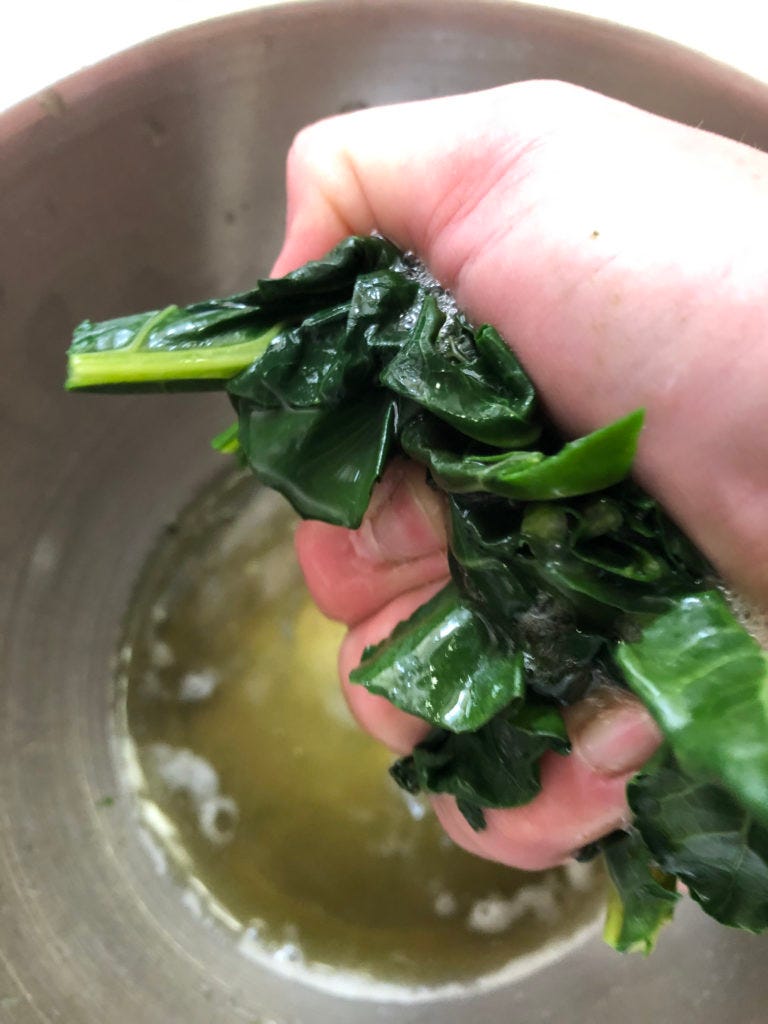

You’re really gonna want to squeeze out as much liquid as possible. Then place your handfuls of goodness on another cooking sheet or a cutting board or a plate or make your kids hold ’em. Gotta keep the offspring guessing.
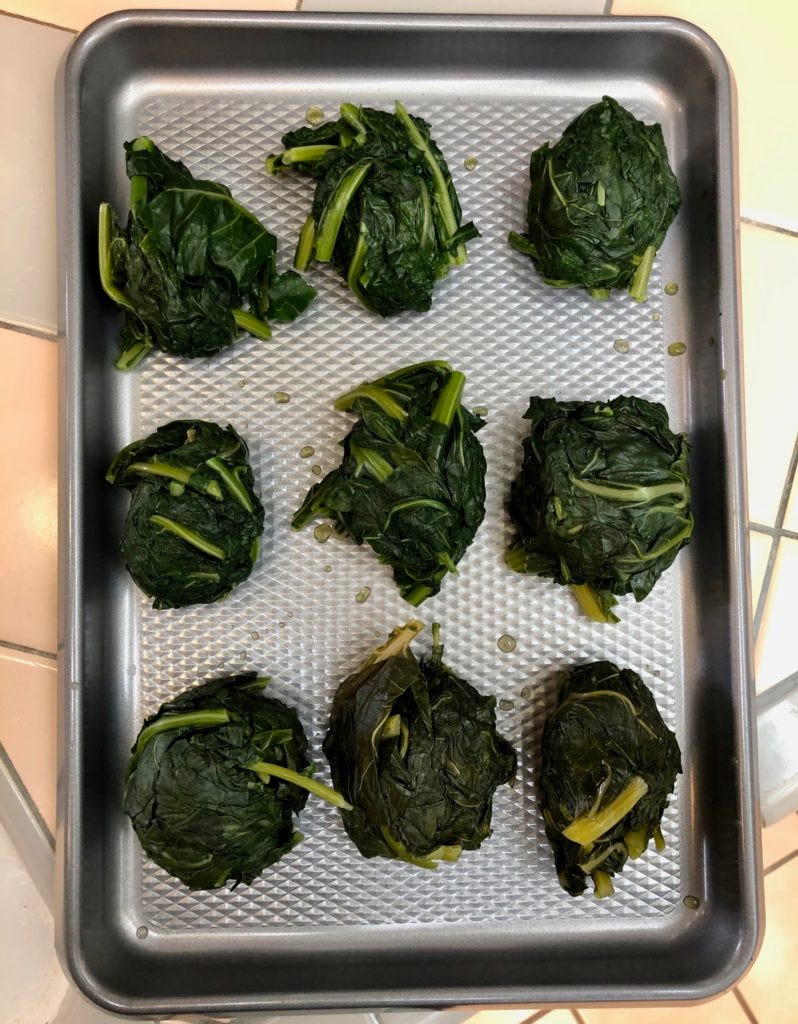
From here, you can just pop these in a freezer bag and into the freezer! Now you’ve prepped some pre-portioned super nutritious veggies for a future meal, or two or three or four, and it’s really not all that time-consuming. Best of all, you are truly enjoying and utilizing your garden’s goodness.
You can use this cooking method with collards, kale, chard, beet and radish greens – whatever you got growing. Start tasting your greens at 2 minutes. Kale and chard won’t take as long as collards and broccoli. Catch my next newsletter for a healing and warming soup recipe to use your greens. Enjoy your garden, warriors!!!